
SpringCloud微服务架构系列服务的注册发现与调用

简介
众所周知,SpringCloud是一个微服务框架,本质上是基于SpringBoot的一整套实现微服务的框架。包含了服务发现、负载均衡、断路器、服务网关、分布式配置等组件。其中服务注册、发现又有Netflix的Eureka,阿里的Dubbo,Apache的Consul等,本篇文章将以Eureka进行讲解。
Eureka
Eureka是Netflix开发的服务发现框架,本身是一个基于REST的服务。由两个组件组成:
- Eureka Server:也被称作是服务注册中心,用于提供服务的注册与发现。
- Eureka Client:包含服务消费者与服务生产者。
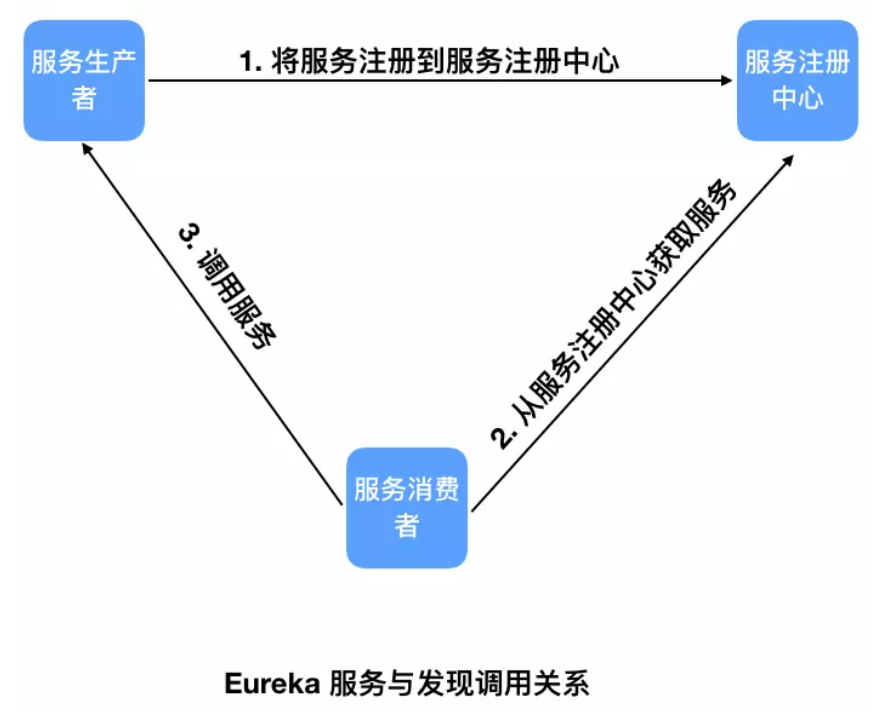
图片来源于互联网,如侵权可联系博主
Eureka的作用就是将我们定义的API接口注册到Eureka服务器上,方便管理,调用的时候只需要知道服务名就可以,不再通过IP加端口号的方式调用,利于解耦。
服务的注册与发现
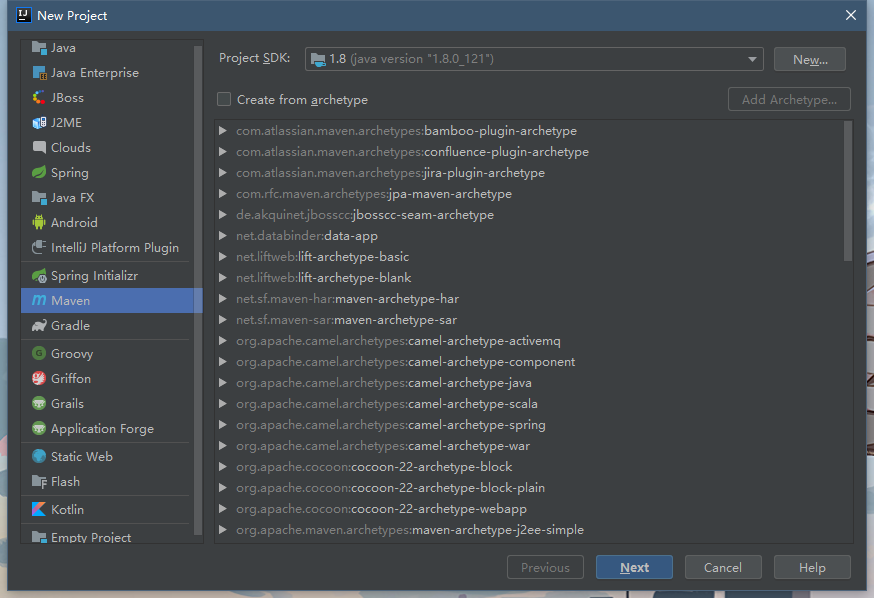
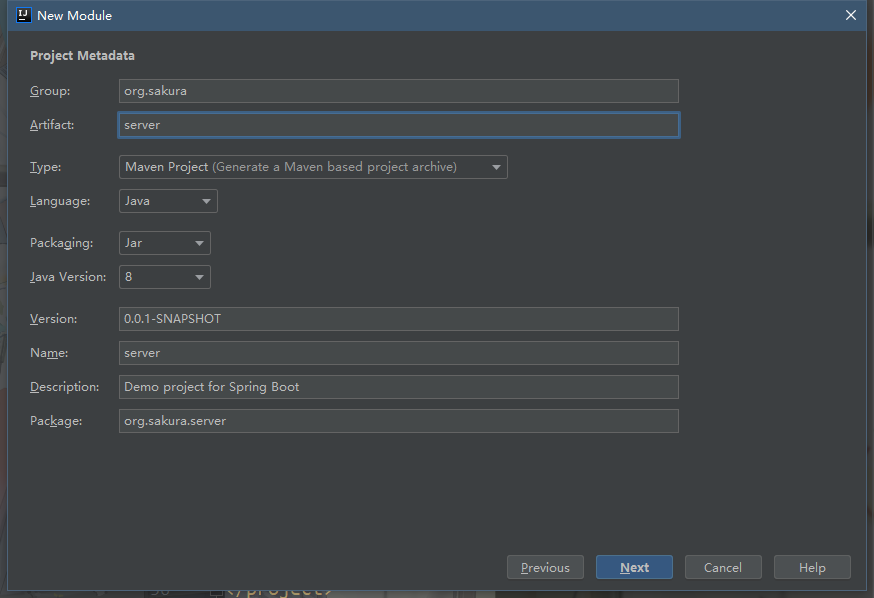
一、新建主项目
- 选择Maven,点击Next
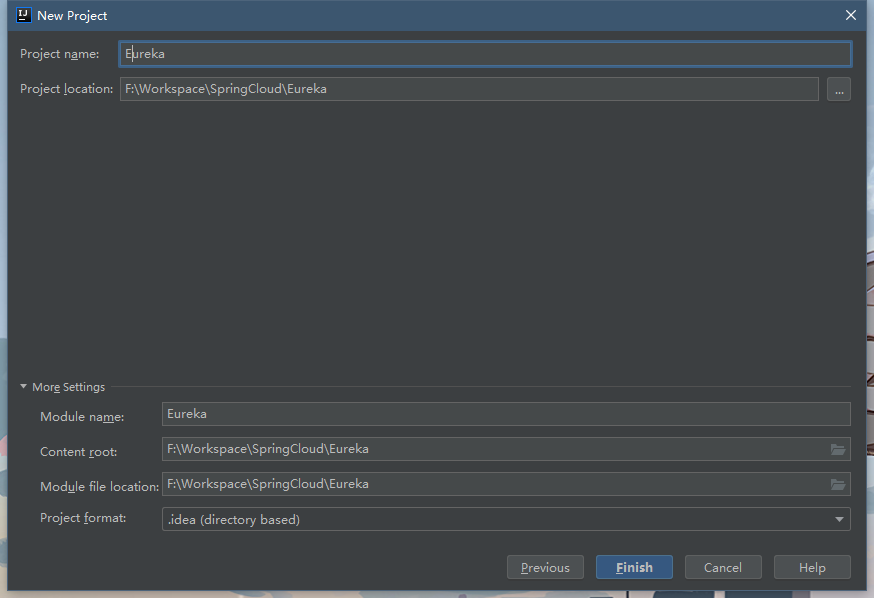
- 填写相关信息,点击Next

- 确定信息无误后,点击Finish
- 将
src文件夹删除(如果有的话)打开pom.xml文件,添加如下代码。1
2
3
4
5
6
7
8
9
10
11
12
13
14
15
16
17
18
19
20
21
22
23<!--必须指定该父模块,不然后面子模块启动会报错,很麻烦-->
<parent>
<groupId>org.springframework.boot</groupId>
<artifactId>spring-boot-starter-parent</artifactId>
<version>2.1.7.RELEASE</version>
<relativePath/> <!-- lookup parent from repository -->
</parent>
<!--父模块类型必须为pom-->
<packaging>pom</packaging>
<!--包含子模块-->
<modules>
</modules>
<!--在父模块添加web依赖,子模块可继承该依赖-->
<dependencies>
<dependency>
<groupId>org.springframework.boot</groupId>
<artifactId>spring-boot-starter-web</artifactId>
</dependency>
</dependencies>二、新建Eureka Server
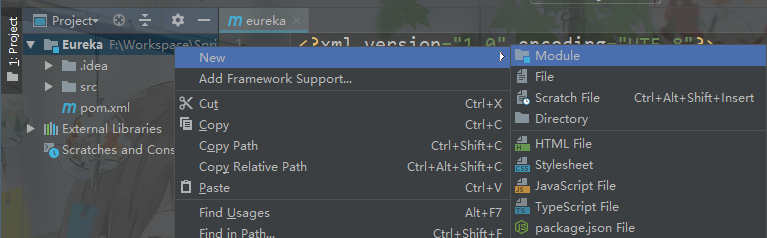
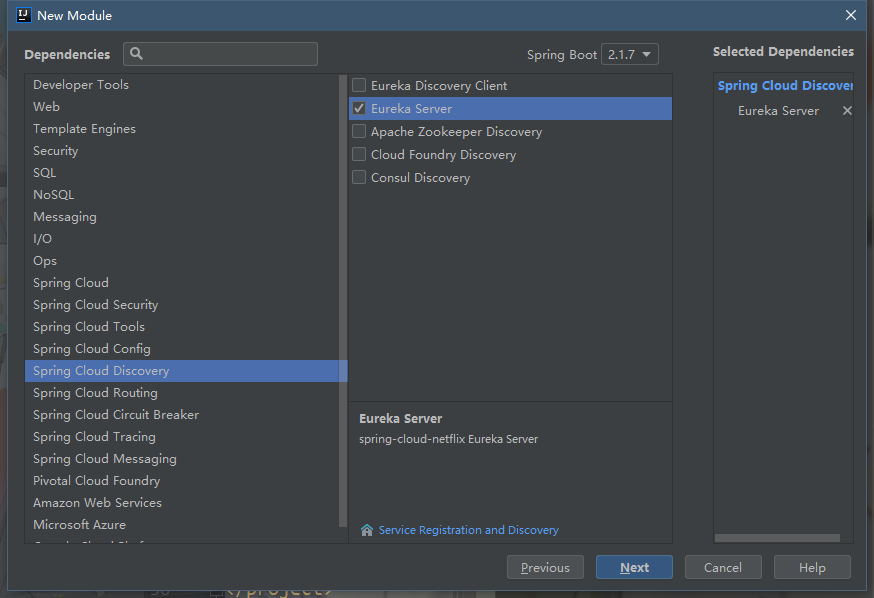
- 在项目上右键新建Module
- 选择Spring Initializr,点击Next,填写相关信息,Next
- 选择导入Eureka Server 依赖,Next,确认信息,点击Finish
- 打开Server模块的
pom.xml文件,修改<parent>标签1
2
3
4
5<parent>
<groupId>org.sakura</groupId>
<artifactId>eureka</artifactId>
<version>1.0-SNAPSHOT</version>
</parent> - 打开主模块的
pom.xml文件,在<modules>标签添加相应的子模块1
2
3
4<!--包含子模块-->
<modules>
<module>Server</module>
</modules> - 将Server模块中的
application.properties重命名为application.yml,并添加如下信息,也可直接使用properties文件类型(需修改如下代码)1
2
3
4
5
6
7
8
9
10
11
12
13
14
15
16
17
18
19
20
21
22
23
24
25
26
27
28
29# Eureka 服务注册与发现的组件
server:
port: 8080
spring:
application:
#服务名,很重要
name: server
eureka:
instance:
hostname: localhost
#将prefer-ip-address设为开启时,将默认显示服务的地址,而非主机名
# prefer-ip-address: true #以IP地址注册到服务中心,相互注册使用IP地址
# prefer-ip: 127.0.0.1 #显式设置服务的地址
client:
# 下面两个 false 表明自己是 server,而非 client
register-with-eureka: false # 不要使用 eureka 服务进行注册,即在管理界面不可见
fetch-registry: false # 不要在本地缓存注册表信息
service-url:
defaultZone: http://${eureka.instance.hostname}:${server.port}/eureka/
# defaultZone: http://127.0.0.1:${server.port}/eureka/
server:
#开启自我保护模式
enable-self-preservation: false
#清理无效节点,默认60*1000毫秒,即60秒
eviction-interval-timer-in-ms: 5000 - 修改Server模块的启动类,添加
@EnableEurekaServer注解即可1
2
3
4
5
6
7
8
9
public class ServerApplication {
public static void main(String[] args) {
SpringApplication.run(ServerApplication.class, args);
}
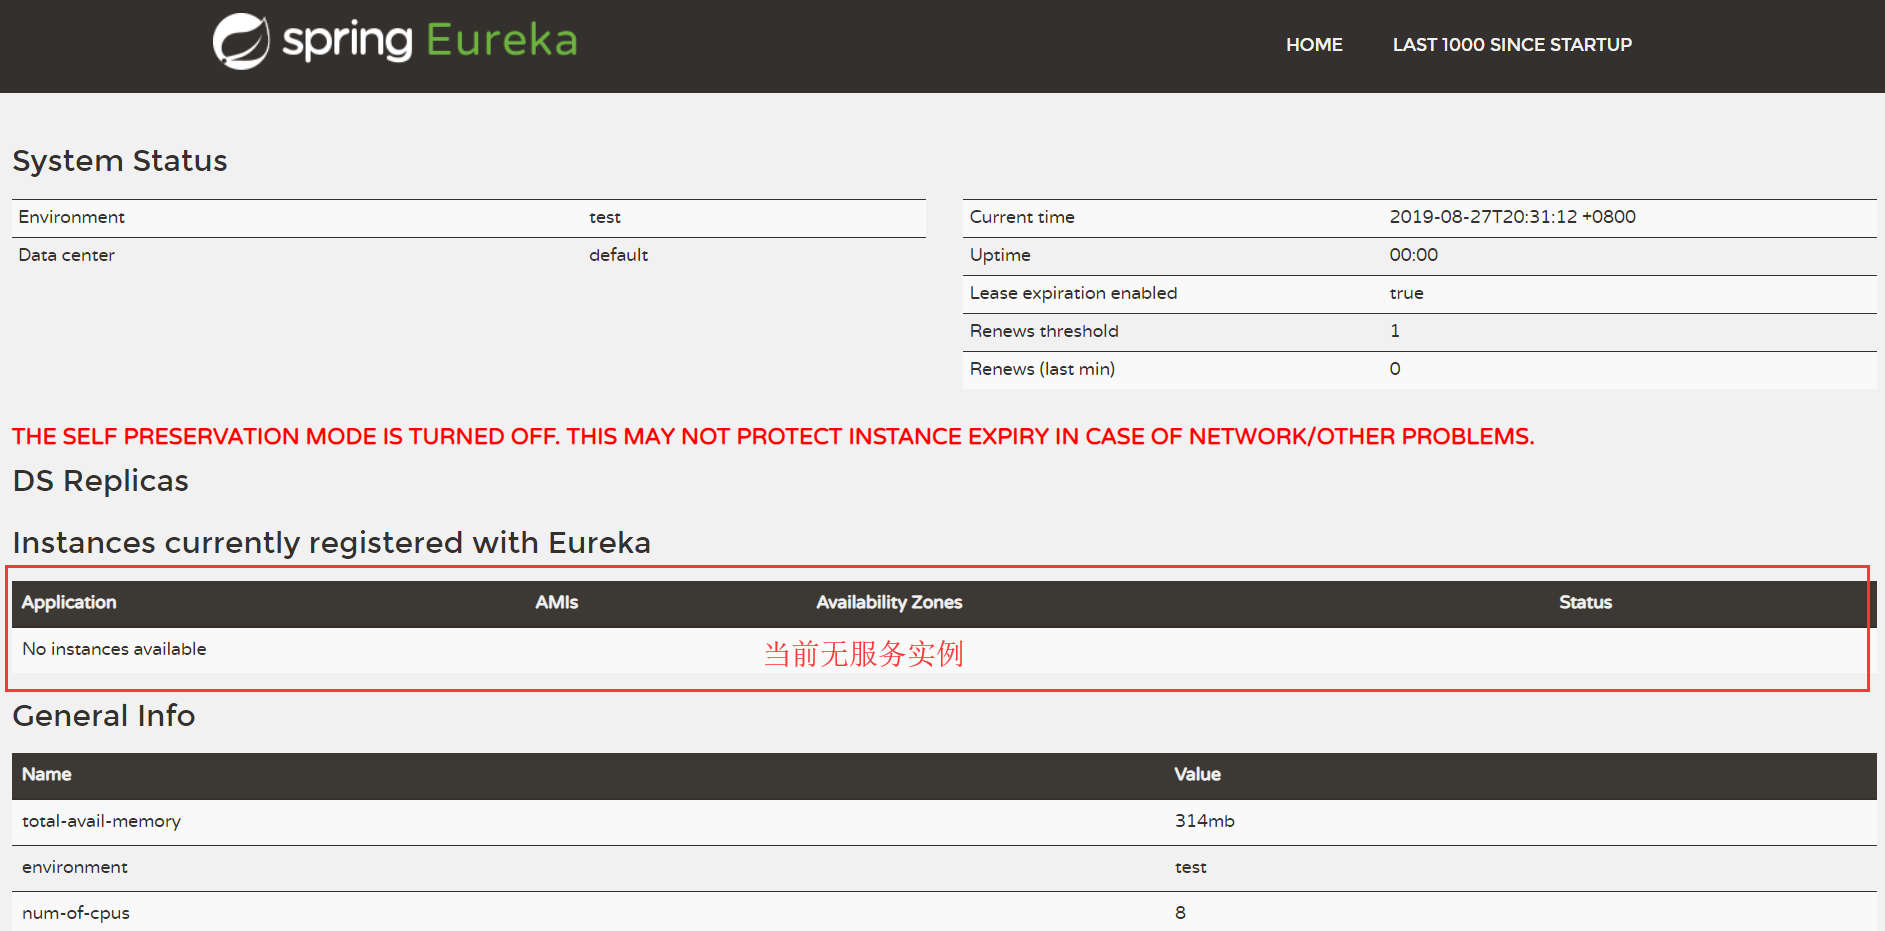
} - 启动Server服务,打开http://localhost:8080
三、新建Eureka Client
- 新建Client模块,前两步和之前一样,只有导入依赖那里不一样
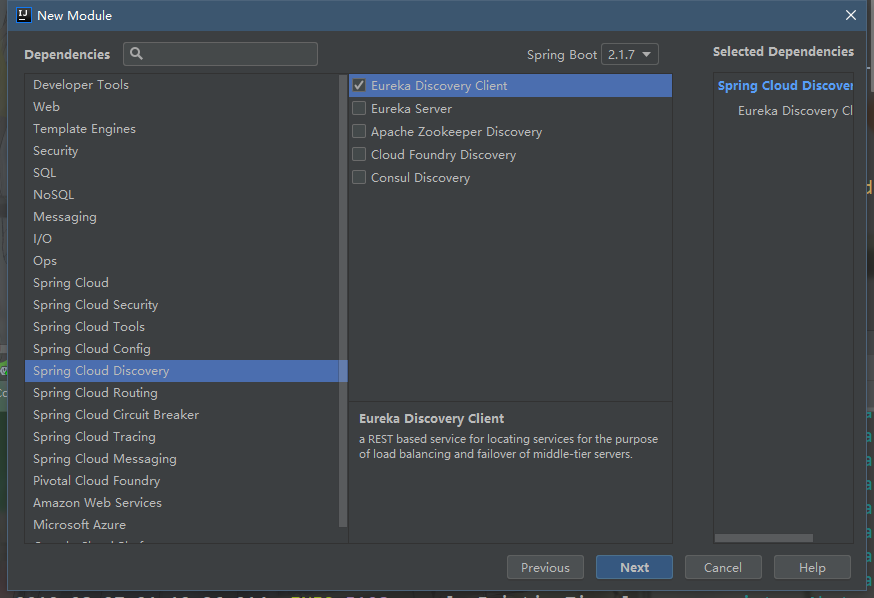
- 修改子父模块的
pom.xml,与Server模块一样 - 修改
application.yml1
2
3
4
5
6
7
8
9
10
11
12
13
14
15
16
17
18
19
20server:
port: 8081
spring:
application:
# 服务名,很重要
name: client
eureka:
instance:
hostname: localhost
#以IP地址注册到服务中心,相互注册使用IP地址
# prefer-ip-address: true
client:
service-url:
#服务注册地址
defaultZone: http://${eureka.instance.hostname}:8080/eureka
- 修改启动类,添加
@EnableEurekaClient注解(@EnableDiscoveryClient或不加都可以)1
2
3
4
5
6
7
8
9
public class Client1Application {
public static void main(String[] args) {
SpringApplication.run(Client1Application.class, args);
}
} - 启动Client服务(启动Client前,需保证Server正在运行,不然会报错),打开刚才的链接
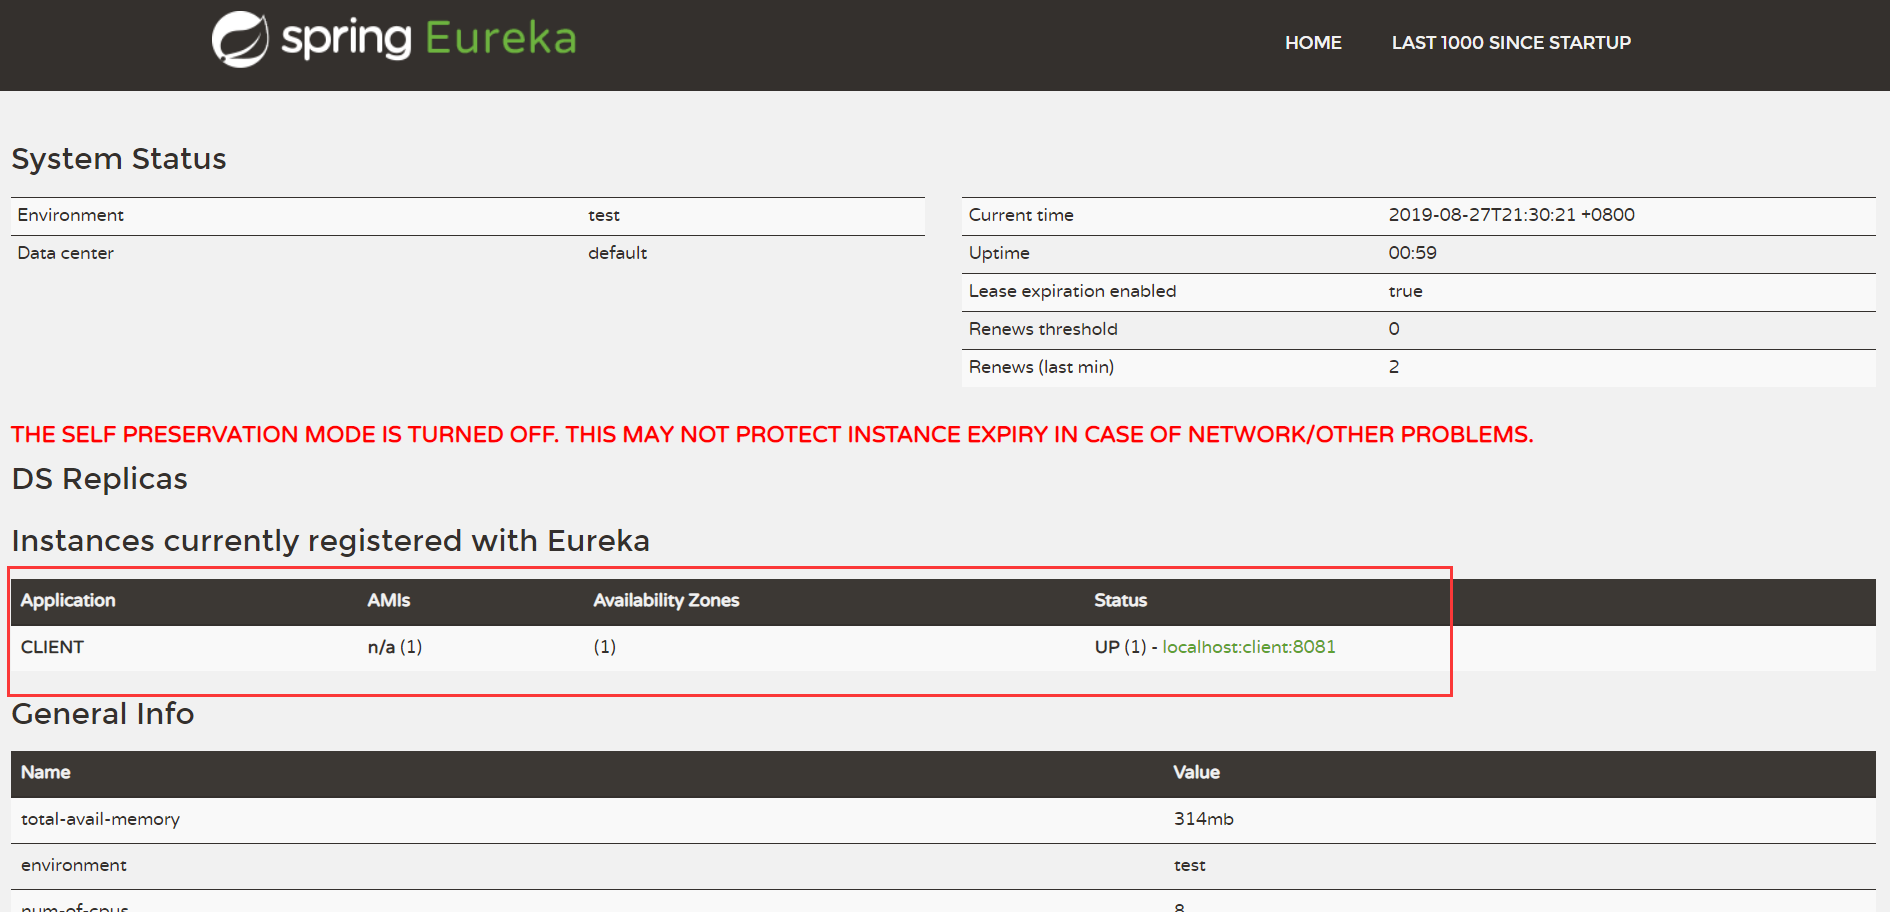
可以看到,Client服务已经注册到服务中心了。这里可能有小伙伴会发现点击这个服务的链接是会出现404的,这是因为项目没有使用到Actuator。服务的调用
SpringCloud有两种服务调用的方式
- Ribbon
- Feign
一、Ribbon
SpringCloud Ribbon是一个基于HTTP和TCP的客户端负载均衡工具,它基于Netflix Ribbon实现。几乎存在于每一个SpringCloud构建的微服务和基础设施中。因为微服务间的调用,API网关的请求转发等内容,实际上都是通过Ribbon来实现的。
再创建一个Client2服务,配置文件中除端口与之前的Client不同外,其它都一致,服务名也一样,这是为了实现负载均衡。
1
2
3
4
5
6
7
8
9
10
11
12
13
14
15
16
17server:
port: 8082
spring:
application:
name: client
eureka:
instance:
hostname: localhost
#以IP地址注册到服务中心,相互注册使用IP地址
# prefer-ip-address: true
client:
service-url:
#服务注册地址
defaultZone: http://${eureka.instance.hostname}:8080/eureka为两个Client各添加一个API接口
1
2
3
4
5
6
7
8
public class HelloController {
public String sayHello( String name){
return "Hello " + name + ", 8081";
}
}1
2
3
4
5
6
7
8
public class HelloController {
public String sayHello( String name){
return "Hello " + name + ", 8082";
}
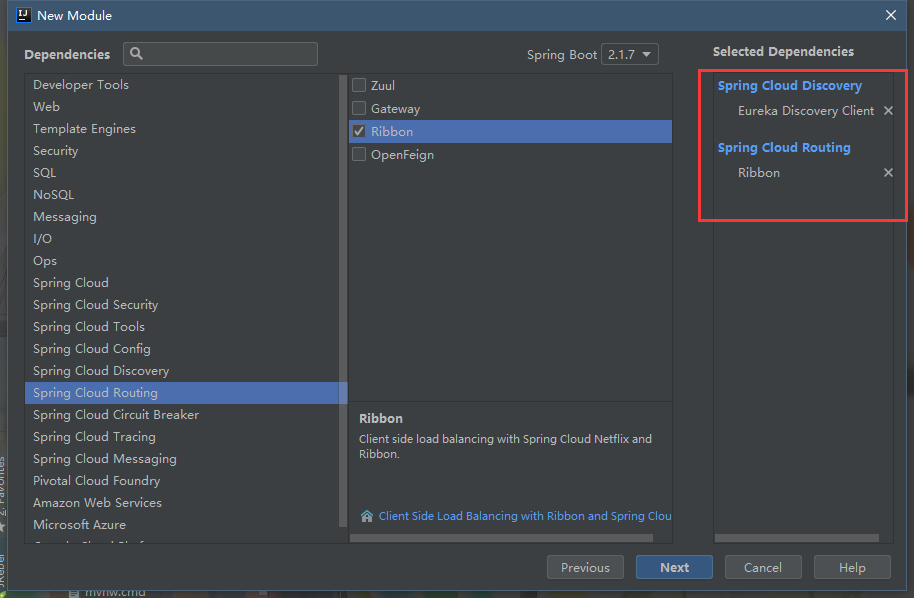
}再新建一个Robbon模块,前面基本一样,依赖不同
修改配置文件和pom
1
2
3
4
5
6
7
8
9
10
11
12
13
14
15
16
17server:
port: 8083
spring:
application:
name: ribbon
eureka:
instance:
hostname: localhost
#以IP地址注册到服务中心,相互注册使用IP地址
# prefer-ip-address: true
client:
service-url:
#服务注册地址
defaultZone: http://${eureka.instance.hostname}:8080/eureka修改启动类,需添加一个RestTemplate bean
1
2
3
4
5
6
7
8
9
10
11
12
13
14
15
16
17
18
19
public class RibbonApplication {
public static void main(String[] args) {
SpringApplication.run(RibbonApplication.class, args);
}
/**
* 负载均衡配置
* @return
*/
RestTemplate restTemplate(){
return new RestTemplate();
}
}在Ribbon模块中加入一个Service和一个Controller
1
2
3
4
5
6
7
8
9
10
public class HelloService {
RestTemplate restTemplate;
public String helloService(String name){
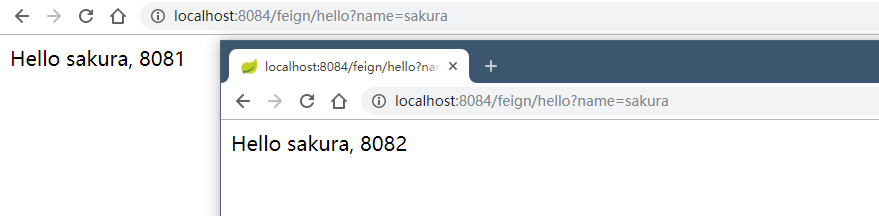
return restTemplate.getForObject("http://client/hello?name="+name,String.class);
}
}1
2
3
4
5
6
7
8
9
10
11
public class HelloController {
HelloService helloService;
public String hello(String name){
return helloService.helloService(name);
}
}依次启动Server模块和其它各模块
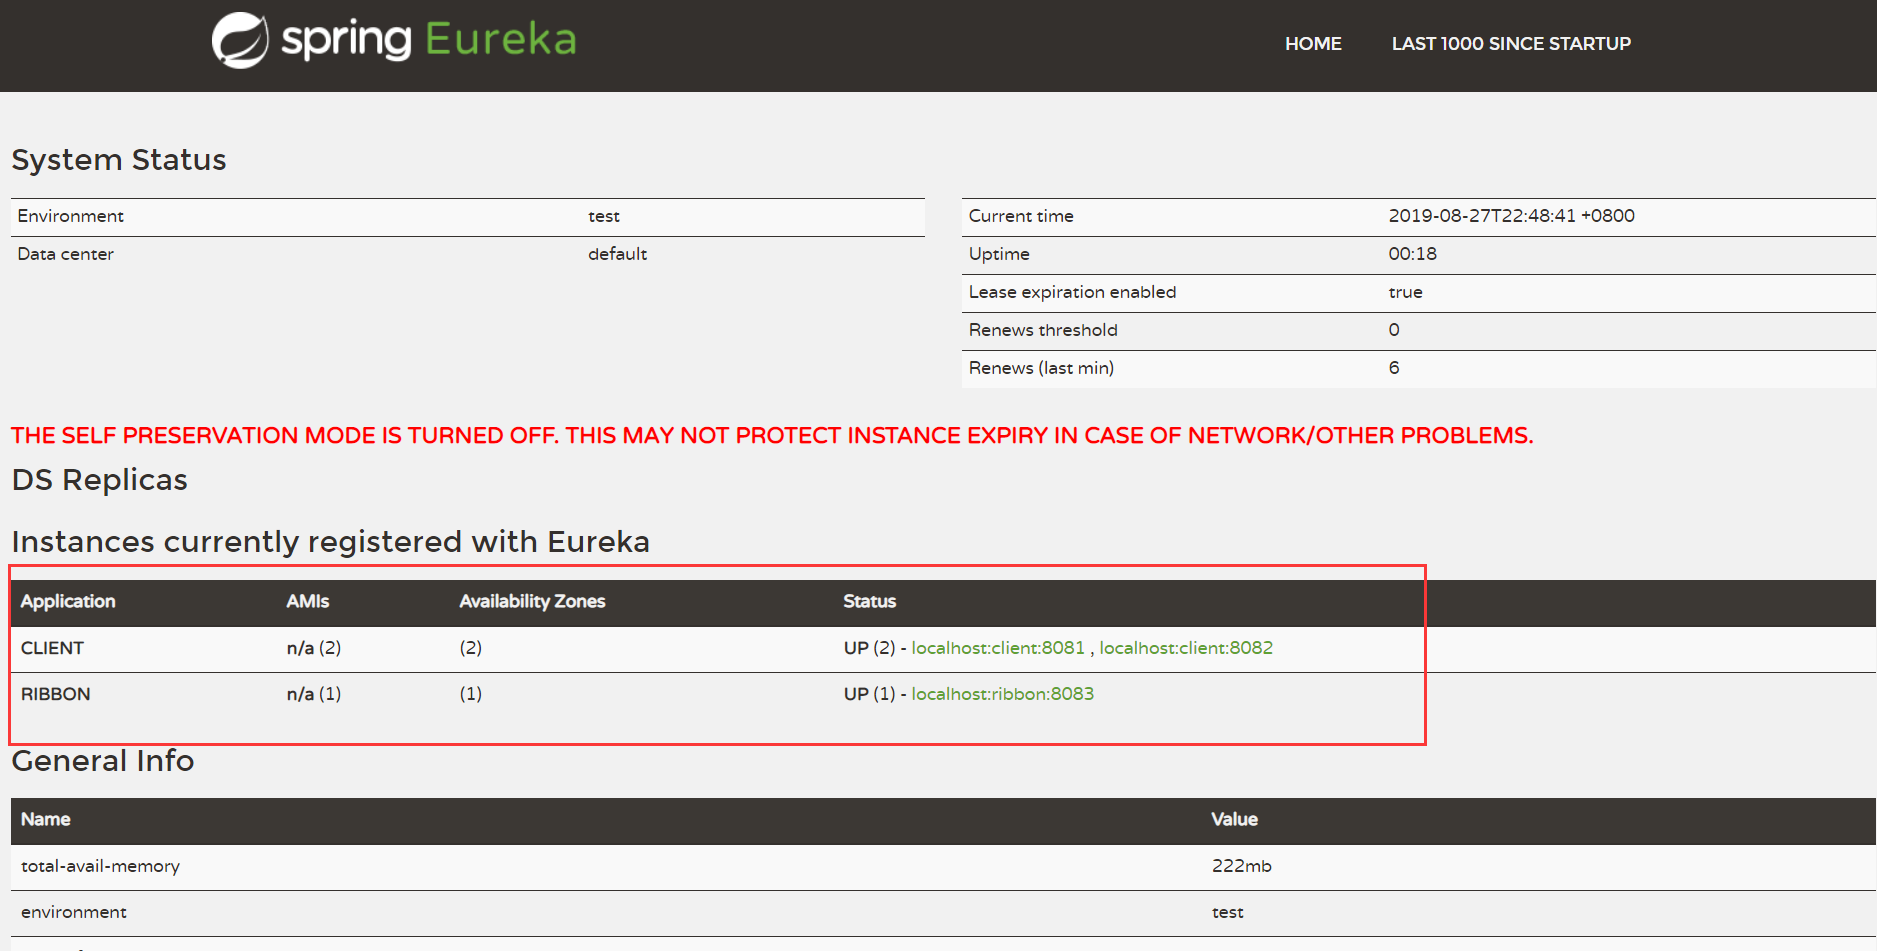
可以看到,两个Client和一个Ribbon都已经注册上去了
打开http://localhost:8083/hello?name=sakura
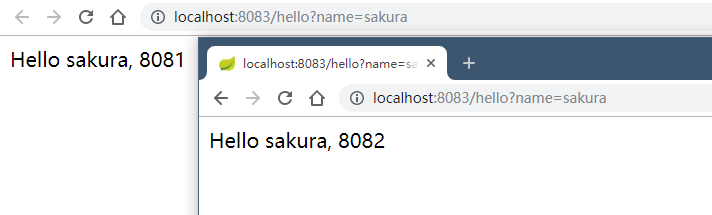
每次刷新调用的服务都不同,证明客户端负载均衡成功了二、Feign
Feign是基于Ribbon实现的工具,采用基于接口的注解
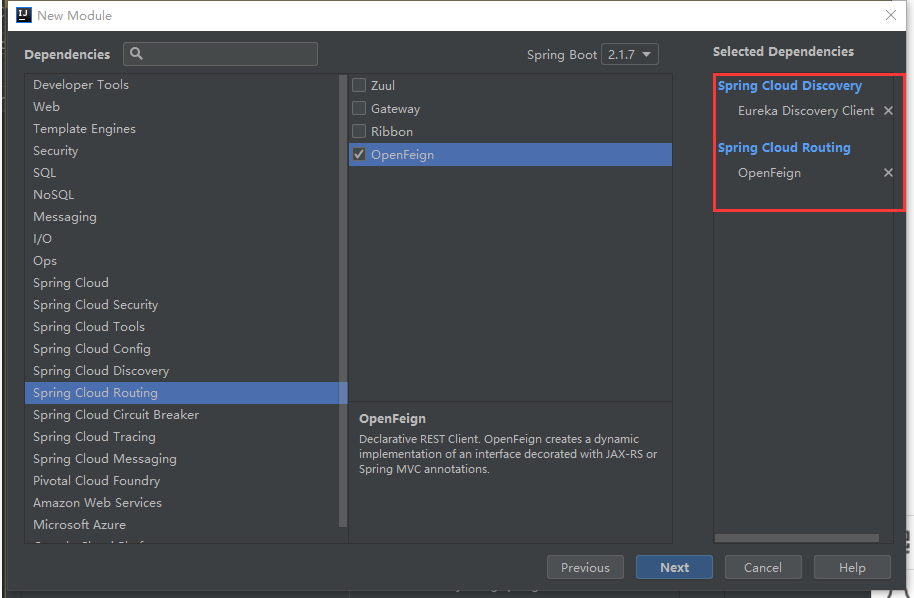
新建Feign模块,引入依赖
修改配置文件和pom
1
2
3
4
5
6
7
8
9
10
11
12
13
14
15
16
17
server:
port: 8084
spring:
application:
name: feign
eureka:
instance:
hostname: localhost
#以IP地址注册到服务中心,相互注册使用IP地址
# prefer-ip-address: true
client:
service-url:
#服务注册地址
defaultZone: http://${eureka.instance.hostname}:8080/eureka修改启动类,添加
@EnableEurekaClient和@EnableFeignClients1
2
3
4
5
6
7
8
9
10
public class FeignApplication {
public static void main(String[] args) {
SpringApplication.run(FeignApplication.class, args);
}
}创建一个Service接口
1
2
3
4
5
6//value值为需要调用的服务名
public interface IFeignService {
//这里的地址为需要调用的服务里相应的接口地址
String hello(String name);
}使用上面的接口(声明完上面Feign接口后,其他Spring管理的类,如Service、Controller都可以直接注入使用,IDEA可能会提示不能注入,可忽略)
1
2
3
4
5
6
7
8
9
10
11
public class HelloController {
private IFeignService iFeignService;
public String sayHello(String name){
return iFeignService.hello(name);
}
}依次启动Server模块和Feign模块和Client模块
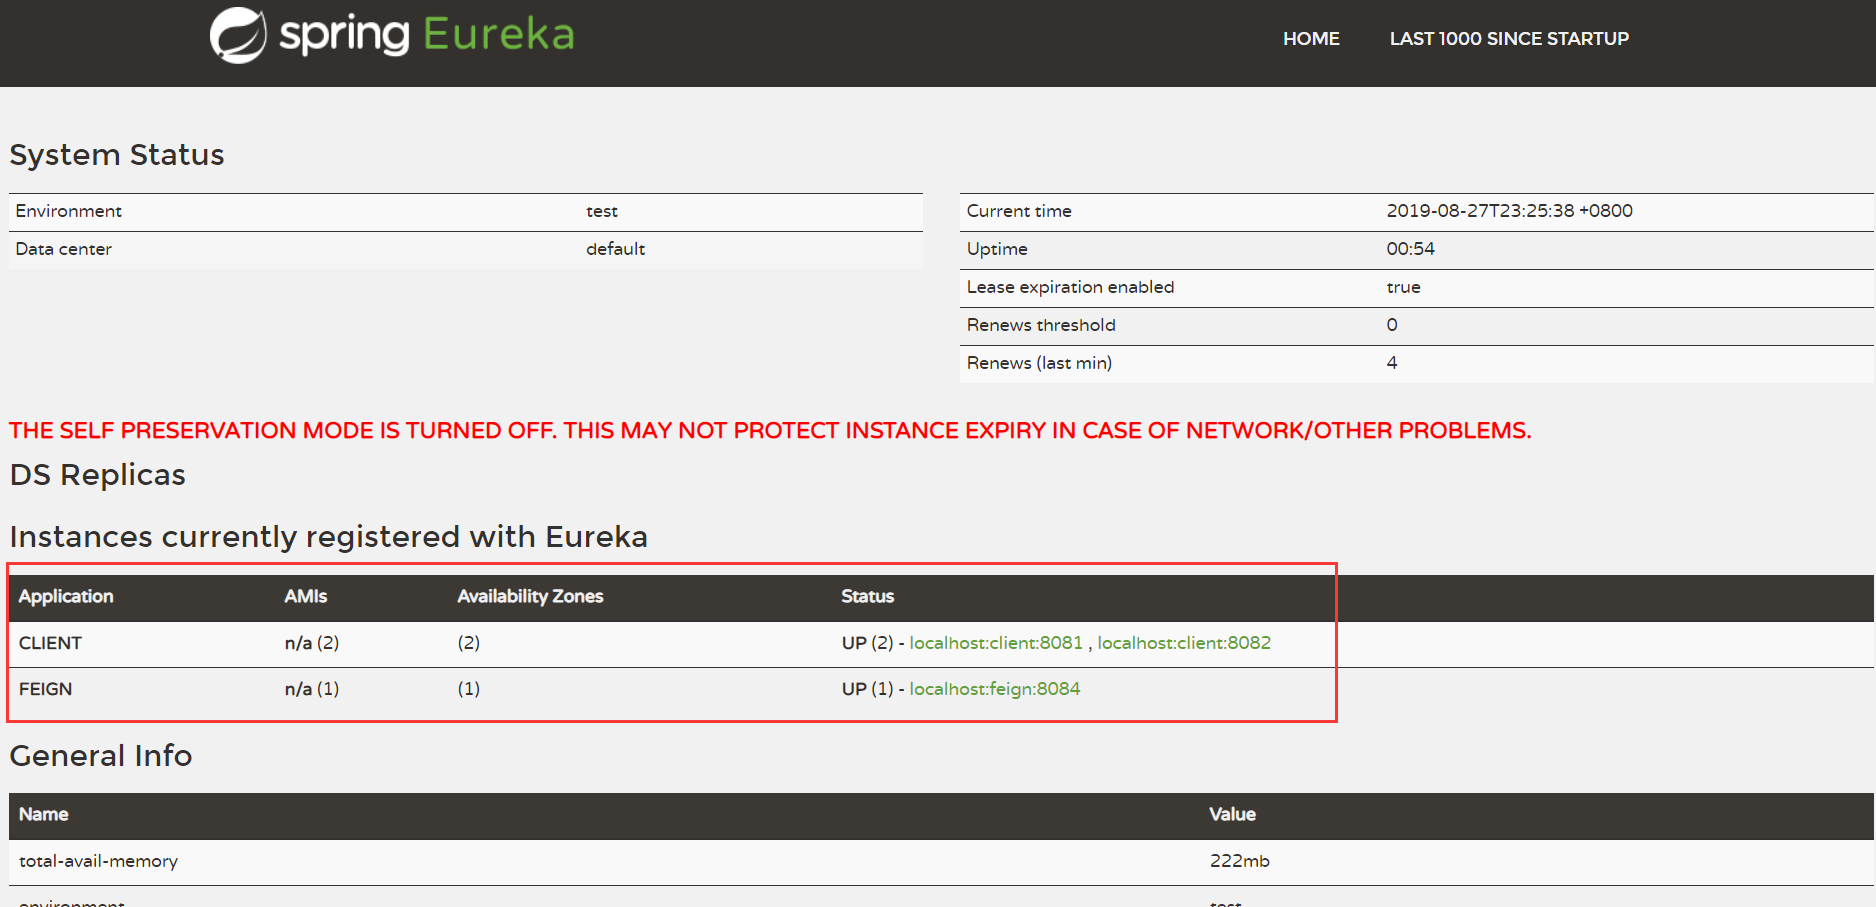
以上相对全面简洁的介绍了SpringCloud中服务的注册、发现与调用。代码已上传至Github